User access tokens can be used in order to authenticate to Blaxel by API or CLI. They apply for both users and service accounts. They are generated through a variety of methods, which are documented below.
Overview of authentication methods on Blaxel
Blaxel employs two main authentication paradigms: short-lived tokens (OAuth) and long-lived tokens (API keys).
Long-lived tokens are easier to use but are less secure as their validity can go from multiple days to infinite. They are generated as API keys from the Blaxel console.
OAuth tokens are recommended for security reasons, as their duration is only of 2 hours (short-lived). They are generated through OAuth 2.0 authentication endpoints.
API keys
Long-lived authentication tokens are called API keys on Blaxel. Their validity duration can be infinite.
API keys can be used in the Blaxel APIs, CLI and SDK.
To authenticate in the SDKs, use the following two variables BL_WORKSPACE and BL_API_KEY, which can be set in one of these sources:
- your
.env file
- your machine’s environment variables
- the local configuration file created when you log in through the CLI (see below)
To authenticate in the CLI use this command
export BL_API_KEY=YOUR-API-KEY
bl login YOUR-WORKSPACE
Authorization or X-Blaxel-Authorization in any call to the Blaxel APIs. For example, to list models:
curl 'https://api.blaxel.ai/v0/models' \
  -H 'Accept: application/json, text/plain, */*' \
  -H 'Authorization: Bearer YOUR-API-KEY'
Use API keys in CI
GitHub Action
The easiest way to integrate the Blaxel CLI into a CI pipeline is with the official Blaxel GitHub Action.
To use this, add a new secret to your GitHub repository named BL_API_KEY and set it to the value of your Blaxel API key. You can then use the GitHub Action in a GitHub workflow, as shown below:
name: Deploy

on:
  push:
    branches:
      - "main"
  workflow_dispatch:

jobs:
  deploy:
    runs-on: ubuntu-latest
    steps:
      - name: Checkout code
        uses: actions/checkout@v2
      - name: Deploy to Blaxel
        uses: blaxel-ai/bl-action@v1
        with:
          workspace: "YOUR_WORKSPACE"
          apikey: ${{ secrets.BL_API_KEY }}
      - name: Deploy to Blaxel
        run: bl deploy
Manual configuration
If you prefer to set up authentication manually or are using a different CI platform, follow these steps:
-
Set the API key as an environment variable in your CI environment:
export BL_API_KEY=YOUR-API-KEY
-
Add steps to Download and install the Blaxel CLI in your CI environment and log in to your Blaxel workspace:
You can now use the Blaxel CLI to interact with your workspace, including creating sandboxes, executing batch jobs, or deploying agents or MCP servers.
Use API keys via middleware
If you wish to call the Blaxel API directly from a client Web application, you would have to include your Blaxel API key in client-side code. This creates a serious security vulnerability, as the key will become visible in network requests or in the source code on the client end of the connection.
The solution is to add authentication middleware between your client application and the Blaxel API. The middleware serves as a secure “translator”, which intercepts requests from the client application, injects your Blaxel API key, and then forwards them to Blaxel.
This solution requires a catch-all route in the client application (e.g. /api/blaxel) that forwards all SDK requests to Blaxel’s API. The route reads the Blaxel workspace and API key securely from host environment variables (e.g. BL_WORKSPACE and BL_API_KEY) and injects it into each request by adding Authorization and X-Blaxel-Workspace headers.
Here is a sample implementation of this catch-all route implemented in Next.js:
The above code is illustrative and not intended for production use. It has no authentication, allowing access to anyone who knows the endpoint URL. You must add authentication (session validation, API keys, rate limiting) before deploying in production.
import { NextRequest, NextResponse } from 'next/server';

async function handleRequest(request: NextRequest, { params }: { params: { slug: string[] } }) {
  params = await params;
  const path = params.slug.slice(1).join('/');

  const workspace = process.env.BL_WORKSPACE;
  const apiKey = process.env.BL_API_KEY; // Securely stored in environment variables

  const headers = new Headers(request.headers);
  headers.set('Authorization', `Bearer ${apiKey}`);
  headers.set('X-Blaxel-Workspace', workspace);

  const fetchOptions: RequestInit = {
    method: request.method,
    headers,
    body: ['GET', 'HEAD'].includes(request.method) ? undefined : await request.text(),
  };

  const response = await fetch(`https://api.blaxel.ai/v0/${path}`, fetchOptions);

  const responseHeaders = new Headers(response.headers);
  responseHeaders.delete('content-encoding');
  responseHeaders.delete('content-length');

  return new NextResponse(response.body, {
    status: response.status,
    headers: responseHeaders,
  });
}

export { handleRequest as DELETE, handleRequest as GET, handleRequest as PATCH, handleRequest as POST, handleRequest as PUT };
import blaxel from "@blaxel/core";

blaxel.initialize({
  proxy: 'http://localhost:3000/api/blaxel',  // Your catch-all route
  workspace: 'YOUR_WORKSPACE',
});

// Now use the SDK as normal
const sandbox = await blaxel.SandboxInstance.create({
  // ...
});
Manage API keys
You can create private API keys for your Blaxel account to authenticate directly when using the Blaxel APIs or CLI. Your permissions in each workspace will be the ones given to your account in each of them.
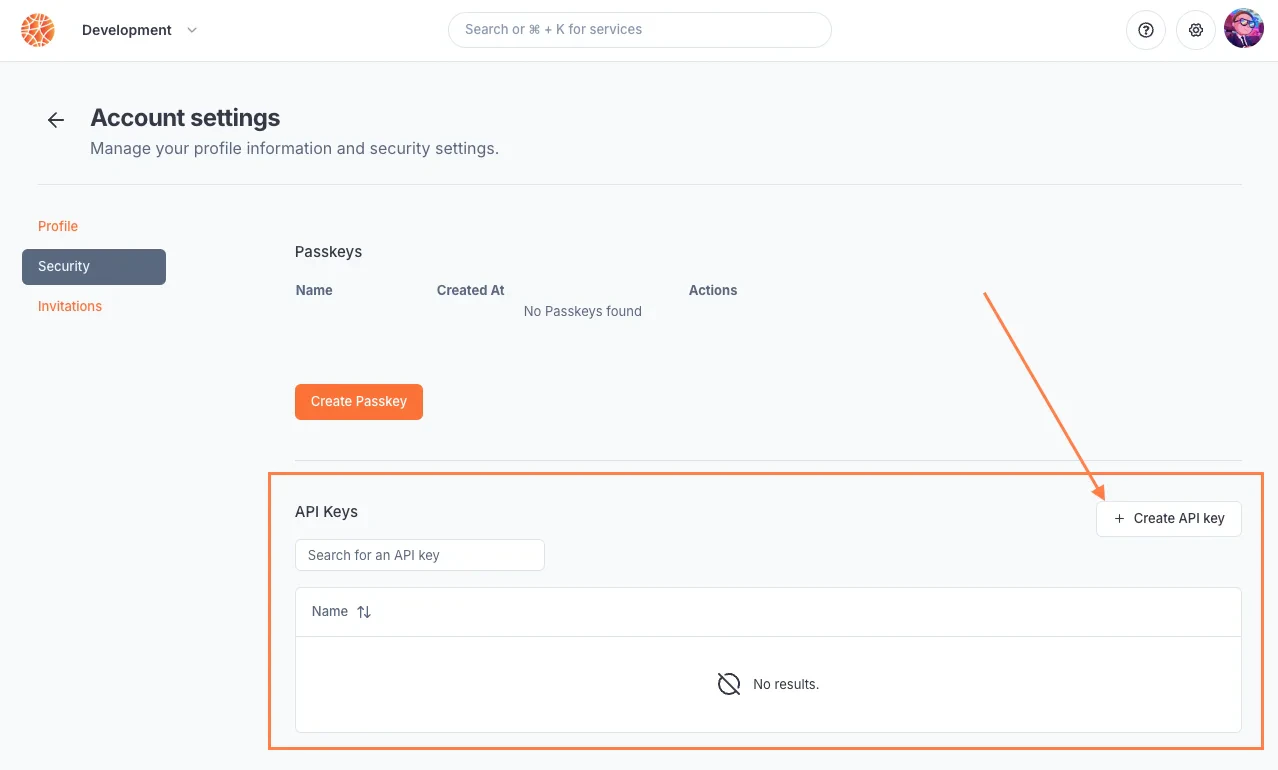
API keys can be managed from the Blaxel console in Profile > Security.
 For production-grade access to workspace resources that should be independent of individual users, it’s strongly recommended to use service accounts in the workspace.
OAuth 2.0 tokens
These short-lived tokens are based on the OAuth 2.0 authentication protocol, and have a validity period of 2 hours.
Use OAuth tokens in the CLI
Use the bl login command.
You will then be redirected to the Blaxel console to finish logging in. Sign in using your Blaxel account if you aren’t already.
Once this is done, return to your terminal: the login will be finalized and you will then be able to run CLI commands.
Use OAuth tokens in the API via service accounts
Service accounts can retrieve a short-lived token via the OAuth client credentials grant type in the authentication API, using their client ID and client secret. These two keys are generated automatically when creating a service account. Make sure to copy the secret at its generation as you will never be able to see it again after.

Service accounts can also connect to the API using a long-lived API key, as detailed
in the section below.
/oauth/token endpoint.
curl --request POST \
  --url https://api.blaxel.ai/v0/oauth/token \
  --header 'Authorization: Basic base64(CLIENT_ID:CLIENT_SECRET)' \
  --header 'Content-Type: application/json' \
  --data '{
	"grant_type":"client_credentials"
}'
curl --request POST \
  --url https://api.blaxel.ai/v0/oauth/token \
  --header 'Content-Type: application/json' \
  --data '{
	"grant_type":"client_credentials",
    "client_id": CLIENT_ID,
    "client_secret": CLIENT_SECRET
}'
Authorization or X-Blaxel-Authorization, as such:
curl 'https://api.blaxel.ai/v0/models' \
  -H 'Accept: application/json, text/plain, */*' \
  -H 'X-Blaxel-Authorization: Bearer YOUR_TOKEN'
(Advanced) Use OAuth tokens in the APIs
Blaxel implements all grant types in the OAuth 2.0 convention, including client credentials, authorization code, and refresh tokens. If you are a developer experienced with OAuth 2.0, you can find the well-known configuration endpoint at the following URL:
https://api.blaxel.ai/v0/.well-known/openid-configuration
Authorization or X-Blaxel-Authorization.
Alternatively, you can retrieve a token using the SDK:
import { settings } from ´blaxel/core’

await settings.authenticate() // Refreshes the token only if needed
console.log(settings.token)